With the Leathers category open, you can now see the album options in the CATALOG tab. Make a selection for each option from top to bottom. It is important to go in order, because some selections will change the options below as you proceed.
Don’t worry about the center WORKSPACE area for now. It will show the default album size until you make a size selection. Just concentrate on working your way from top to bottom of the CATALOG tab.
Choice #1: Paper Type
There are 4 paper type options for the album pages; Lustre, Pearl, and Deep Matte are all photographic papers, while Art Matte is a smooth press paper.
Choice #2: Page Weight
Choose between Single Weight or Double Weight pages. This choice does affect the minimum and maximum number of pages allowed in the album.
Single Weight
Minimum: 10 pages Maximum: 40 pages
Double Weight
Minimum: 7 pages Maximum: 30 pages
Choice #3: Page Core
Select a black or white page core. The image previews show what each option will look like.
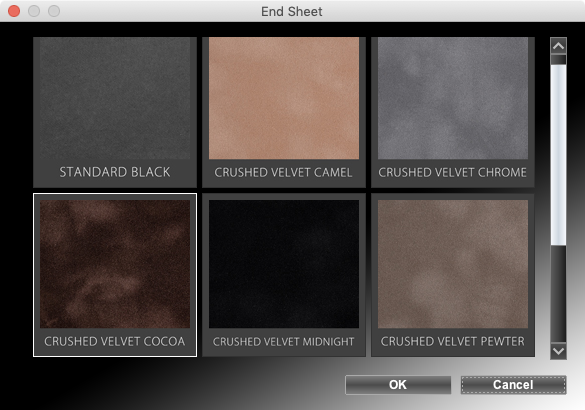
Choice #3: End Sheet
End sheets are available in standard black paper or crushed velvet. If you are interested in having your studio logo branded on on the inside back cover, you will need to select one of the crushed velvet colors.
Choice #4: End Sheet Custom Branding
After your logo has been set up for this service, you may select “Logo On File” when ordering albums.
To learn more about this service and to set up your logo, click here:
Some cover material options, like leather, have sub-categories, such as specialty leather.
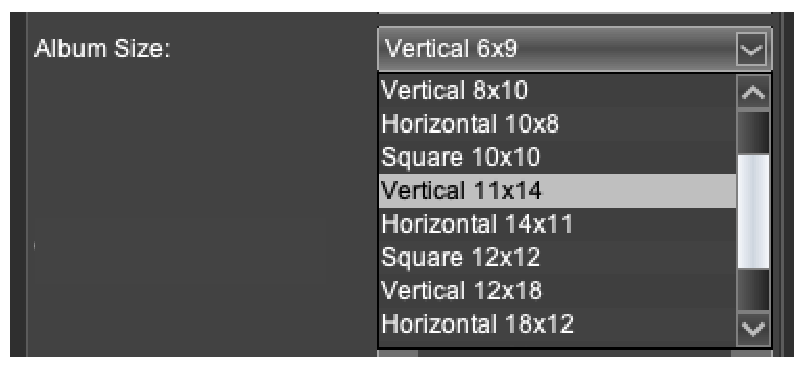
Choice #6: Album Size
Select your choice of album size.
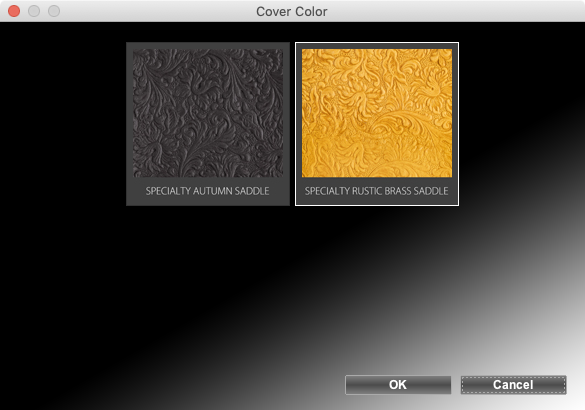
Choice #7: Cover Color
CLICK TO SELECT will open a lightbox of swatches to choose from the cover material in step #5.
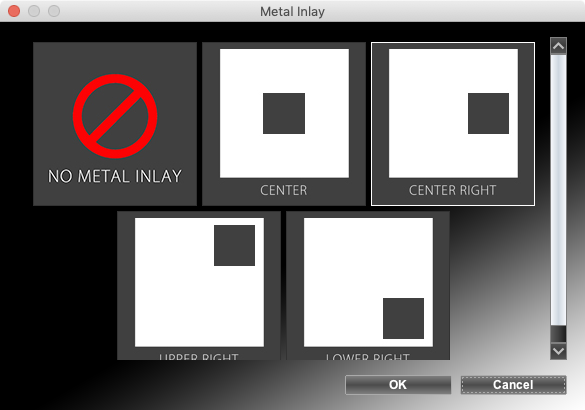
Choice #8: Metal Inlay
If the album size you selected in step 6 offers a metal inlay option, you will see this field. Click the NO METAL INLAY to open a lightbox of inlay postion options.
When a metal inlay is selected, a new image space appears before the first page in the album workspace.
Choice #9: Cover Personalization
Depending on the options chosen prior to this step, you may see up to 3 things in this menu. None will always be an option, but in addition to none, you may see Imprinting, Dimensional Ink, or all 3.
Imprinting is not available on every cover material and color combination. Likewise with Dimensional Ink. If you want to select one of these options and it is not currently showing in the menu, you will need to adjust either the cover material and/or color.
In this example, Imprinting is missing because a specialty leather which is very highly textured was chosen. This makes it impossible to imprint.